1. What Is the CNC Prototyping Process?
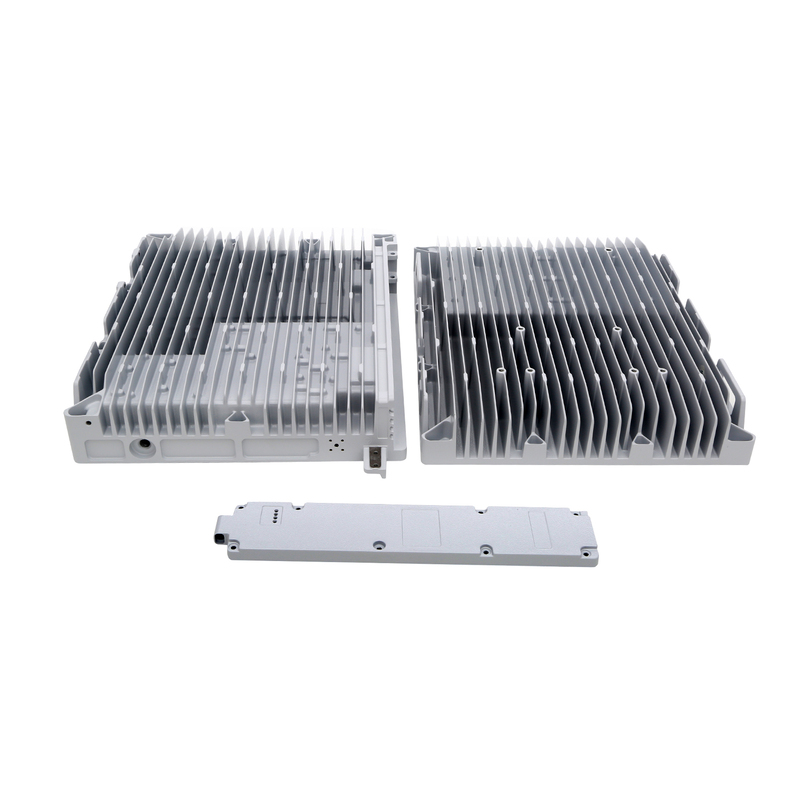
The CNC prototyping process uses production-grade engineering materials and standardized CNC machining to convert customer part requirements into functional, test-ready prototypes. It typically starts with the submission of 3D CAD files and technical requirements, followed by DFM review, transparent quoting, CAM programming, precision CNC machining, surface finishing, quality inspection, and final delivery—ensuring the prototype meets dimensional, structural, and performance specifications.
Unlike 3D printing, which is mainly used for visual or concept models, CNC prototyping uses materials and processes similar to those used in production. This allows prototypes to closely match final parts in strength, accuracy, and real-world performance, enabling engineers to validate manufacturability early and helping procurement teams assess cost, lead time, and production feasibility with confidence.
2. The CNC Prototyping Process: A Step-by-Step Breakdown
CNC prototyping turns your digital designs into precise, functional parts. From initial CAD modeling to final quality checks, every step is carefully controlled to ensure accuracy, repeatability, and reliability. Below is a detailed look at the process.
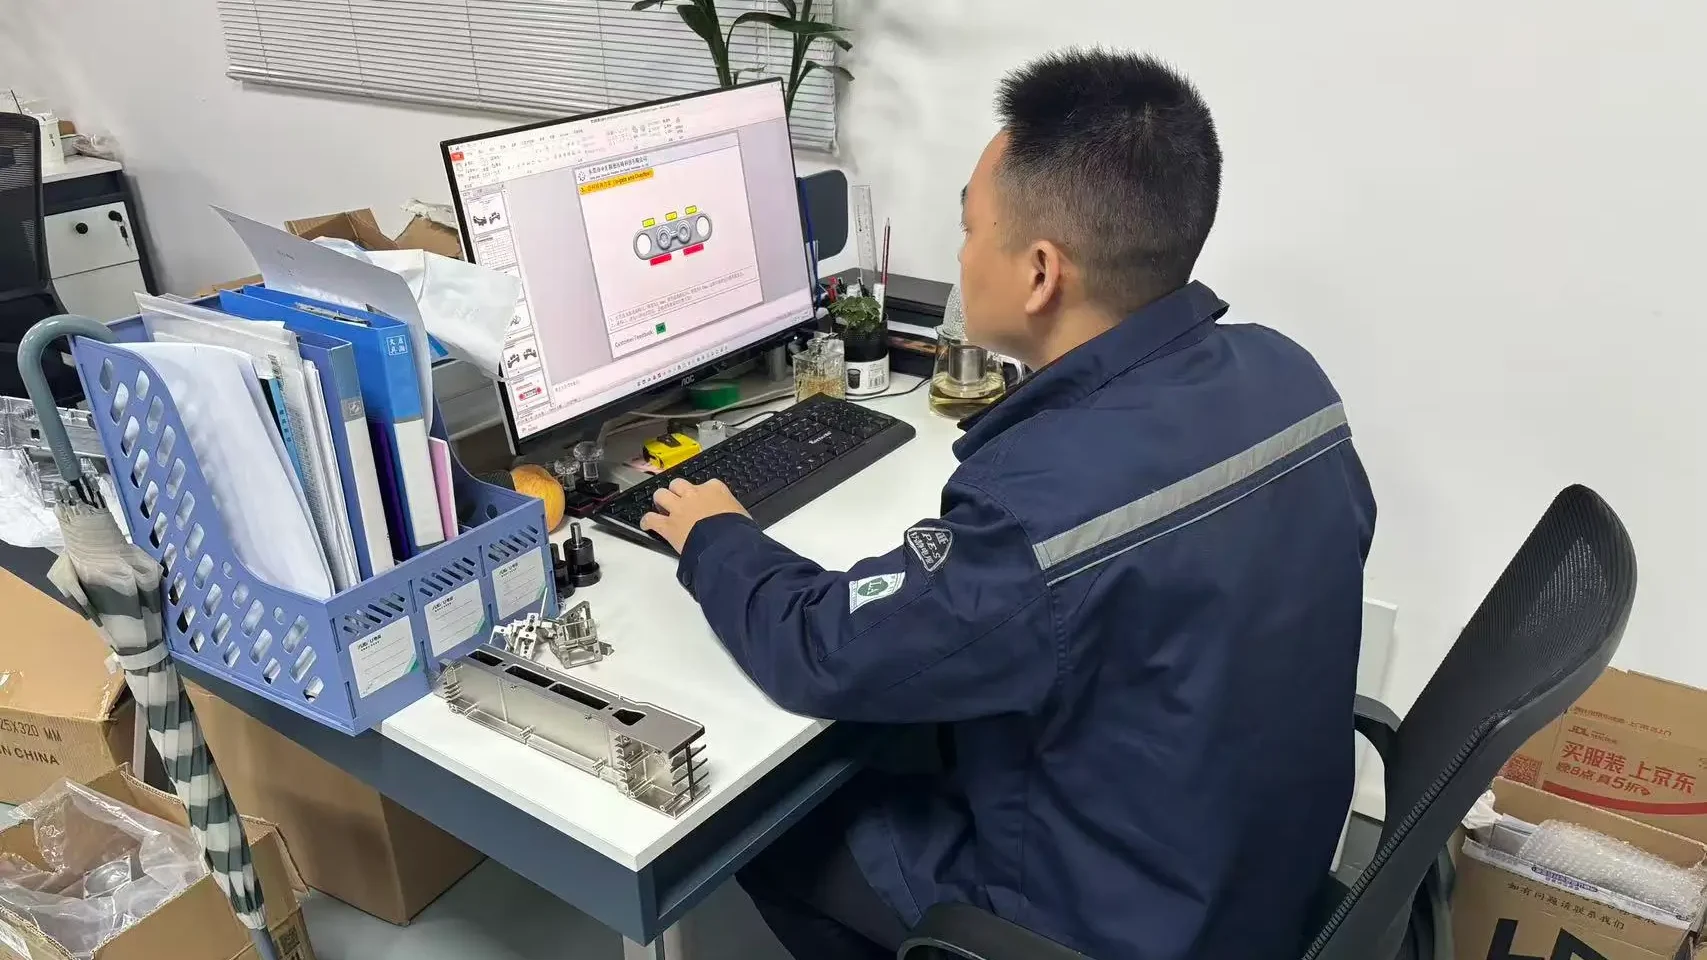
Step 1: 3D CAD Submission and Initial Consultation
The CNC prototyping process begins when clients submit detailed 3D CAD files (STEP, IGES, STL, etc.) along with information about part function, material preferences, quantity, and critical tolerances. Upon receiving the design, the engineering team conducts an initial technical consultation to quickly understand the part’s functionality, complexity, and potential manufacturing challenges. This early-stage communication ensures the design intent is captured accurately and aligns the engineering, product management, and procurement teams on prototyping objectives, laying the foundation for rapid iteration and validation.
Step 2: DFM (Design for Manufacturability) Review
Following file submission, the engineering team performs a comprehensive DFM review to assess wall thickness, hole depth-to-diameter ratios, tolerance requirements, chamfers, fixturing, and assembly features. Recommendations are provided to optimize manufacturability without compromising design function. For prototyping, this step is crucial to reduce manufacturing risks, support fast iteration, and ensure the prototype can be produced accurately for testing and design verification.
Step 3: Transparent and Traceable Quotation
After the DFM review, the team provides a transparent, traceable quotation based on the actual CNC prototyping workflow, covering material costs, machining operations, fixturing, surface treatment, and quality inspection. This clear pricing enables procurement to understand cost composition while helping the product team evaluate feasibility within the project budget and timeline, ensuring efficient decision-making during the prototype development stage.
Step 4: CAM Programming and Toolpath Generation
Once the quotation is approved, engineers import the CAD files into CAM software to generate CNC programs, defining toolpaths, cutting parameters, and machining sequences. Simulation verifies the process, identifying potential collisions or machining instability before production. This ensures critical features and dimensions are accurately machined while maintaining flexibility for rapid design iteration and functional testing.
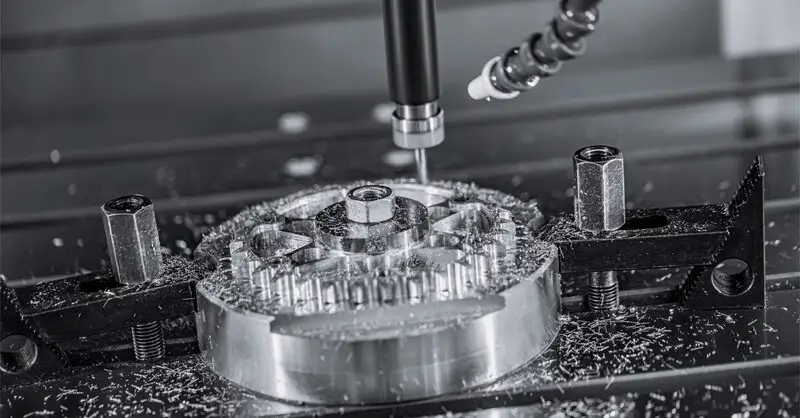
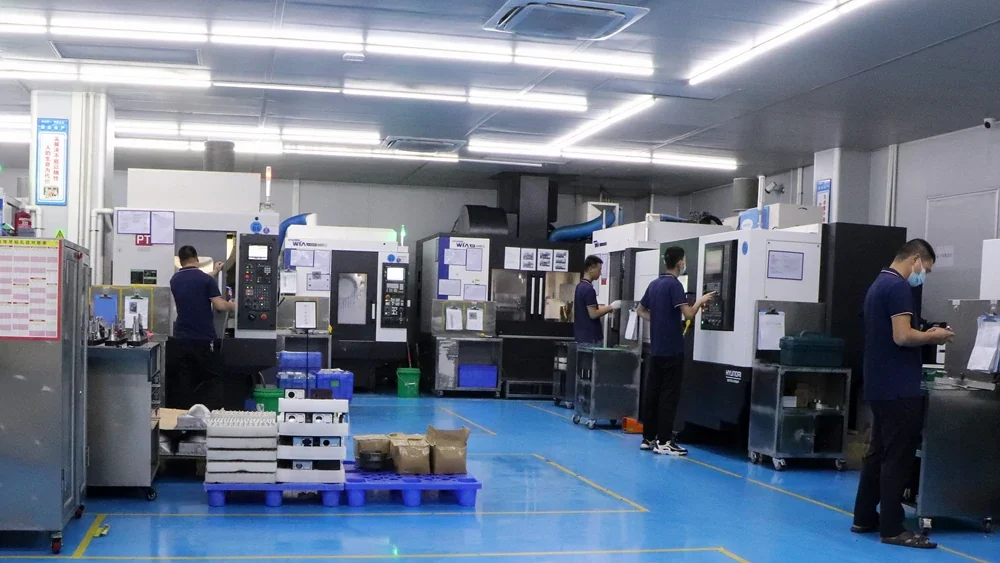
Step 5: Precision CNC Machining
Prototypes are machined using three-axis, four-axis, or five-axis CNC equipment, depending on complexity and tolerance requirements. For critical areas or complex geometries, engineers often separate roughing and finishing passes, use multiple setups, or apply localized finishing to maintain precision. The primary goal is to produce prototype parts that accurately reflect the design for testing and verification, prioritizing speed and precision over mass-production efficiency.
Step 6: Surface Finishing and Post-Processing
After machining, parts undergo surface finishing or post-processing according to testing requirements, which may include deburring, sandblasting, anodizing, polishing, or simple coating. These treatments primarily serve to verify aesthetics, assembly fit, and material performance rather than mass-production standards. Appropriate finishing enhances durability and corrosion resistance while providing reliable feedback for subsequent design iterations.
Step 7: Quality Inspection and Final Delivery
Completed prototypes undergo thorough quality inspection, including dimensional checks, critical tolerance verification, and evaluation of functional or assembly-critical areas. Inspection data are documented to guide the next design iteration. Only parts that meet prototyping requirements are packaged and delivered to the client, ensuring that each prototype is ready for testing, evaluation, and further iteration.
Get Your CNC Prototype Quote Now
ZH Precision provides professional CNC prototyping from single prototypes to on-demand small batch production. We ensure precise tolerances, fast delivery, and consistent high-quality results for every part.
Get Quote3. Surface Finishes: Enhancing Functionality and Aesthetics
CNC prototypes often require surface treatments to improve appearance, durability, and functionality. The right finish enhances part aesthetics, protects against wear or corrosion, and can even improve mechanical performance. By combining precise machining with appropriate surface treatments, your prototypes achieve both functional reliability and visual quality.
1. Anodizing: Used primarily for aluminum parts, anodizing creates a durable oxide layer that improves corrosion resistance and allows for color customization.
2. Plating: Metal plating, such as nickel or chrome, adds a protective layer, improves conductivity, and enhances surface hardness.
3. Bead Blasting: This process smooths rough surfaces and creates a uniform matte finish, ideal for cosmetic purposes or preparing surfaces for painting.
4. Polishing: Polishing removes minor imperfections and produces a smooth, reflective surface. It is suitable for aesthetic parts or components requiring low friction.
4. Three Core Advantages of CNC Prototyping
1. Realistic Material Performance Verification
CNC prototypes are made from the same Metal Materials or engineering plastics as production parts, accurately reflecting the mechanical strength, rigidity, thermal expansion coefficient, wear resistance, corrosion resistance, and long-term stability of the components. This allows design teams to obtain reliable performance feedback during the early stages of product development, supporting informed design optimization.
2. High Precision and Excellent Surface Quality
CNC prototypes achieve machining tolerances of up to ±0.005mm, with fine-machined surface roughness ranging from Ra0.4 to 0.8. Complex curves deviate less than 0.03mm from the design model, and dimensional differences between multiple prototypes are less than 0.02mm. Such high precision ensures the reliability of functional testing, assembly verification, and design evaluation.
3. Direct Assemblability and Functional Testing
CNC prototype parts can be directly used for multi-part assembly verification, mechanism testing, sealing performance checks, real load testing, and environmental adaptation evaluation. This enables engineering teams to identify design flaws early and accelerate iterative improvements.
5. CNC Prototyping Lead Time Reference
| Part Complexity | Without Surface Treatment | With Standard Surface Treatment | With Special Surface Treatment |
| Simple Parts | 1–2 days | 2–3 days | 3–4 days |
| Medium Parts | 2–3 days | 3–5 days | 5–7 days |
| Complex Parts | 3–4 days | 5–7 days | 7–10 days |
Notes:Lead times reflect typical CNC prototyping workflows and may vary depending on part size, material, tolerances, and specific surface treatment requirements.
6. Practical Tips for Buyers and Engineers in CNC Prototyping
1. Prepare Files Professionally
Ensure that you provide a complete 3D model along with clearly annotated 2D drawings. Detailed files help the engineering team understand design intent, reduce interpretation errors, and speed up the prototyping process.
2. Prioritize Critical Dimensions
- Class A: Critical dimensions that must be strictly controlled
- Class B: Important dimensions with moderate tolerance flexibility
- Class C: Reference dimensions that are less critical
This hierarchy helps the manufacturer focus on what truly affects functionality and assembly.
3. Communicate Clearly and Specifically
Provide precise information about the intended use of the prototype, testing requirements, and any special conditions. Clear communication minimizes misunderstandings and ensures the prototype meets your functional expectations.
4. Leverage Supplier Expertise
Experienced CNC prototyping suppliers can offer valuable insights on manufacturability, tooling strategies, and process optimization. Take advantage of their knowledge to improve part quality, reduce costs, and accelerate iteration cycles.
7. Four Best Times to Choose CNC Prototyping
Every CNC prototype represents a perfect blend of design intent and manufacturing expertise. Understanding the full prototyping process ensures high-quality samples and lays a foundation for smooth mass production.
1. When Real Functional Testing is Required
CNC prototypes allow engineers to perform accurate functional and mechanical tests under real-world conditions.
2. When High Precision is Critical (Better than ±0.1mm)
CNC prototyping delivers dimensional accuracy to ensure proper fit, assembly, and performance verification.
3.When Surface Quality Matters
CNC prototypes provide excellent surface finish and detail, ideal for aesthetic inspection and precise mating surfaces.
4. Before Small-Batch Pilot Production
CNC prototypes can be used for final verification before small-batch production, helping identify design or manufacturability issues early and reducing costly modifications.
8. Conclusion
The CNC prototyping process provides a structured, reliable approach to turning designs into functional, high-quality prototypes and custom parts. From concept and CAD modeling to machining, post-processing, and quality control, each step ensures precision and efficiency. Proper planning, material selection, and optimized workflow maximize results, enabling engineers and procurement teams to validate designs confidently and move smoothly toward production-ready components.
By working directly with the manufacturing facility, customers avoid the cost inflation commonly seen on intermediary sourcing platforms. ZH Precision’s factory-direct model ensures pricing consistency from prototyping through production, enabling more accurate budgeting and long-term sourcing decisions.
9. FAQ
A: ZH Precision provides professional DFM (Design for Manufacturability) feedback throughout the entire CNC prototyping process. By evaluating part geometry, wall thickness, tolerances, and machining sequence, we deliver actionable optimization recommendations that help engineers ensure manufacturability and assembly performance, while giving procurement teams clear insight into production complexity, cost, and lead time—enabling informed and reliable decisions during the prototyping stage.
A: The cost of a single CNC prototype part is typically higher because fixed expenses—such as machining setup, engineering support, complex processes, and the use of real engineering materials—must be fully borne by each part. Without the ability to spread these costs over multiple units, the per-piece price is naturally higher.
A: Yes, we offer a comprehensive range of finishing processes, including anodizing, powder coating, and polishing, to enhance the surface properties of our prototypes. Our team works with clients to match the most suitable surface treatment to their functional requirements.
A: ZH Precision is certified to ISO 9001:2015 and IATF 16949:2016, ensuring that all CNC prototyping and custom parts meet international quality management standards and automotive industry requirements. Standardized processes and continuous improvements guarantee consistent and reliable production.